Irrigation Spring Checklist
Spring Irrigation Startup Checklist for Cape Cod Homeowners
Published by Jim
After a long New England winter, your irrigation system has been sitting dormant for months — and it needs a little attention before you start depending on it again. Turning it on the right way (and in the right order) can mean the difference between a healthy, green lawn all season and a frustrating string of leaks, dry patches, and costly repairs.
We’ve been starting up irrigation systems around here for decades. Here’s exactly what we do — and what you should look for — every spring. (Looking for the full rundown of what we offer? See our irrigation services.)
When Should You Start Your Irrigation System on Cape Cod?
Timing matters. Turn it on too early and you risk a late frost cracking your pipes and heads. Wait too long and your lawn starts the season already stressed.
In Massachusetts and the surrounding region, the safe window is generally mid-April through mid-May, once nighttime temperatures are consistently staying above 32°F. We typically tell customers: if you’ve stopped worrying about frost on your windshield in the morning, it’s probably safe to start thinking about your irrigation.
Spring Irrigation Startup Checklist
✅ 1. Check the Backflow Preventer First
The backflow preventer protects your home’s drinking water from contamination and is often the first thing to show damage after a freeze. Before anything else, visually inspect it for cracks, leaks, or any signs that it shifted over the winter. If it looks off, stop here and call a professional — running the system with a damaged backflow preventer isn’t safe.
✅ 2. Slowly Reintroduce Water Pressure
This is the step most people rush — and it causes the most damage. Don’t just crank the main valve open all at once. Open it slowly and gradually, allowing pressure to build up over several minutes. A sudden surge of water through pipes and heads that have been dry all winter is a recipe for blown heads and cracked fittings.
✅ 3. Inspect Every Zone Manually
Walk each zone while it runs. You’re looking for:
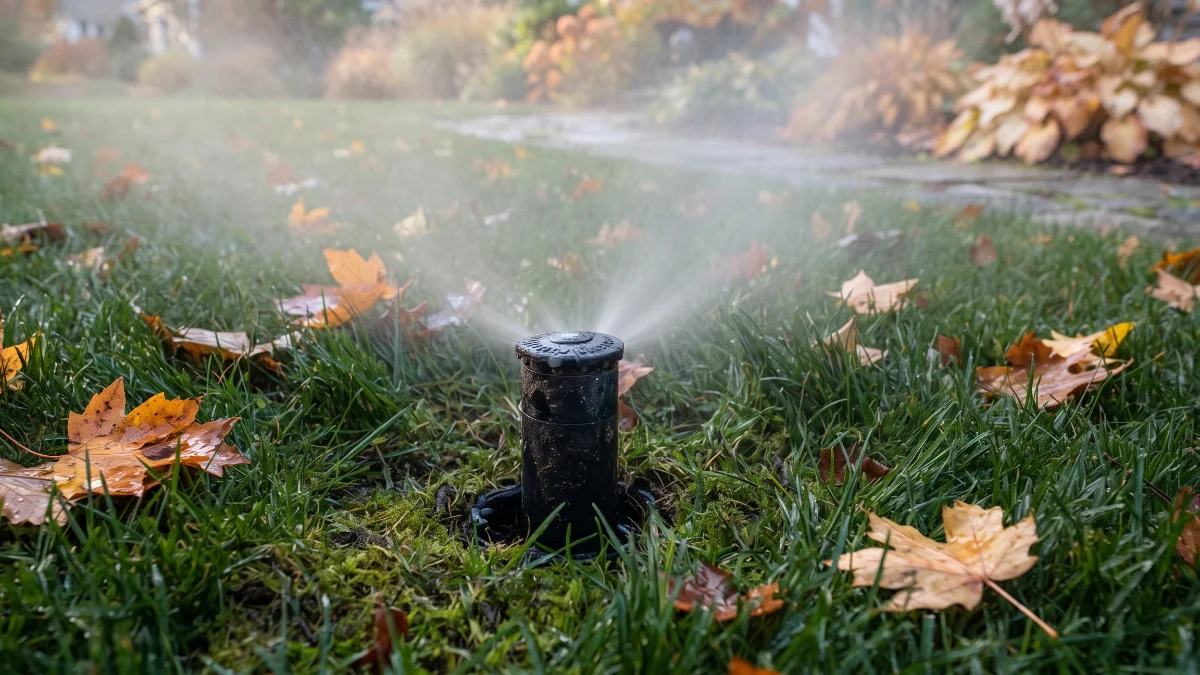
- Sprinkler heads that aren’t popping up — usually clogged or damaged
- Heads spraying in the wrong direction — they shift over winter from ground movement
- Uneven coverage — dry spots mean something’s blocked or broken
- Pooling water — a sign of a cracked pipe or fitting underground
- Heads spraying onto pavement or the house — wastes water and doesn’t help your lawn
Take notes as you go. It’s easier to address everything at once than to run back out for each zone separately.
✅ 4. Clean or Replace Clogged Sprinkler Heads
Dirt and debris work their way into heads over the winter. If a head isn’t rotating or isn’t popping up fully, try cleaning it out before assuming it needs to be replaced. Many heads unscrew easily and can be flushed with water. That said, heads are relatively inexpensive — if one is cracked or obviously damaged, replace it.
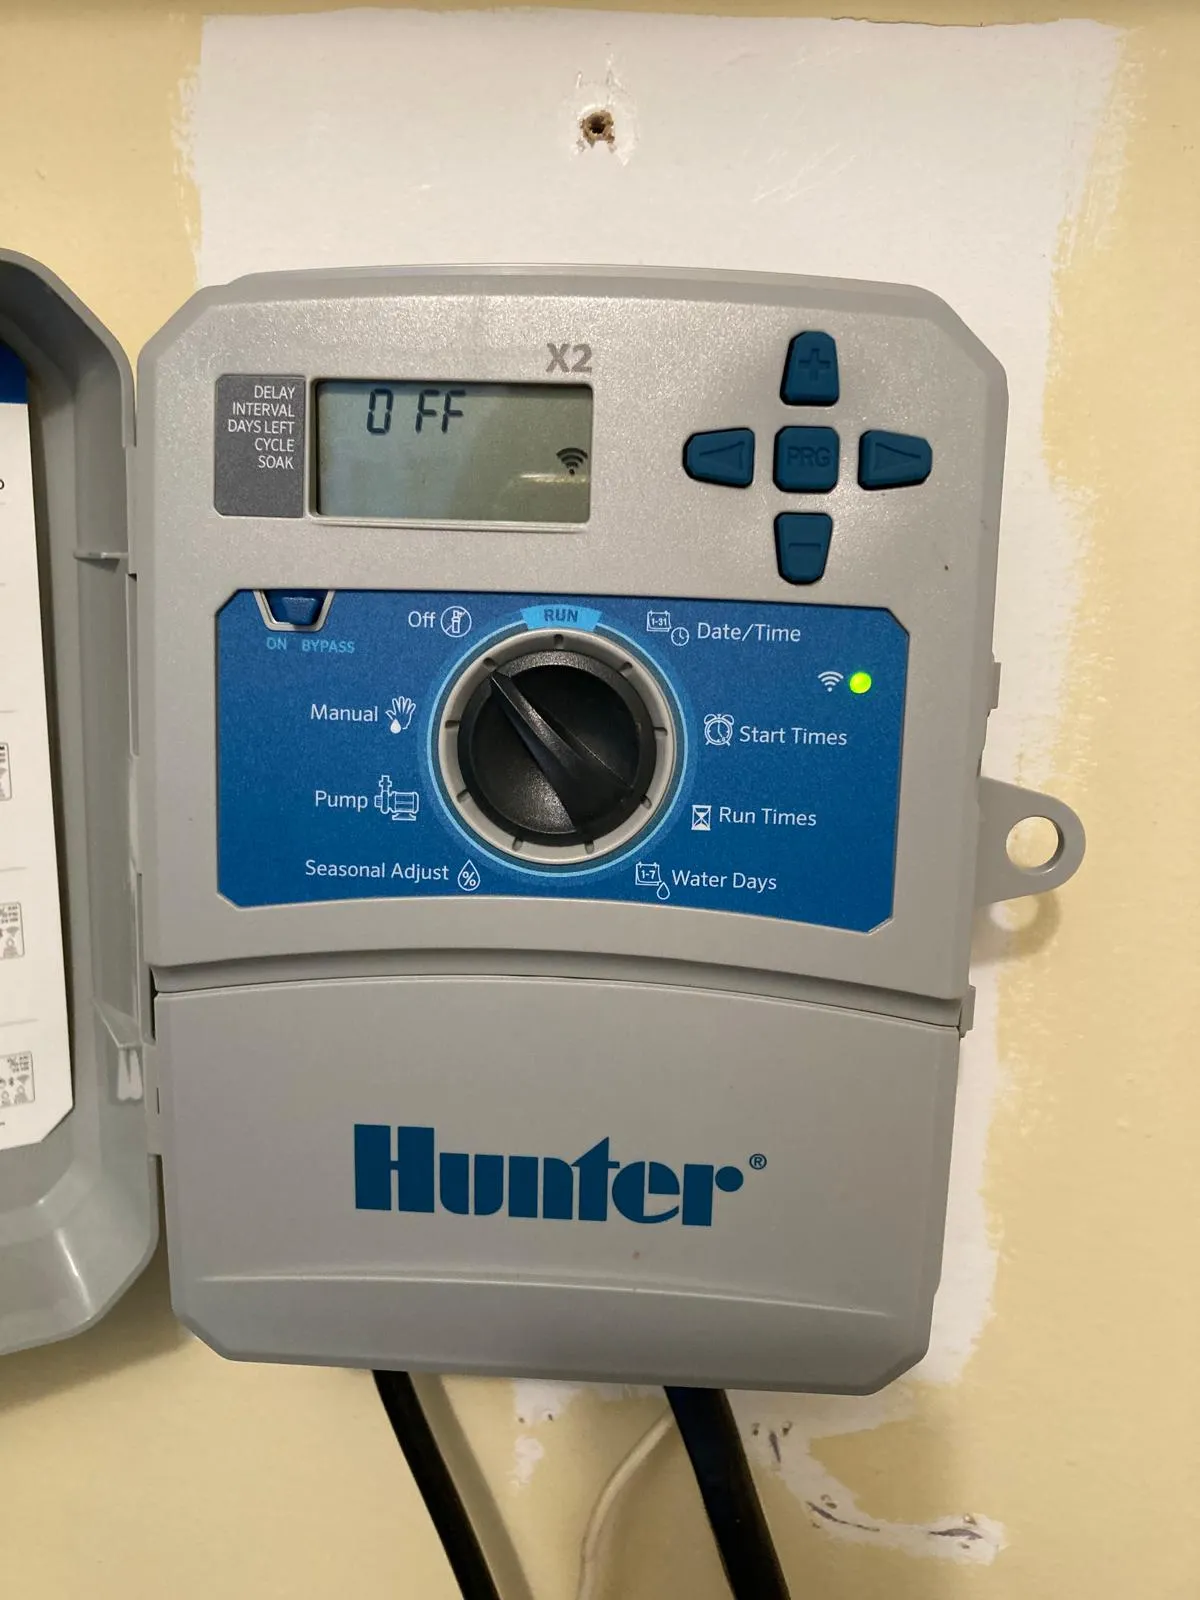
✅ 5. Check the Controller and Programming
Your irrigation controller likely lost its programming over the winter — especially if the power flickered or you unplugged it. Before you hit “run,” check:
- The date and time are correct (critical for scheduling)
- Watering schedules match the current season (spring needs are different from peak summer)
- Rain sensor is connected and functioning
A quick tip: spring watering schedules should run less frequently than summer ones. Your lawn doesn’t need as much water when temperatures are cooler and rainfall is more regular.
✅ 6. Adjust Your Sprinkler Heads for Seasonal Growth
Plants and shrubs that were small last fall may have filled in considerably. Walk your beds and check that heads aren’t being blocked by new growth. This is also a good time to raise or lower heads that have sunk or heaved over the winter from ground frost.
✅ 7. Check for Leaks at All Connection Points While the system is running, walk the perimeter and look at every visible connection — where pipes meet valves, where heads connect to lateral lines. Even a small drip can waste thousands of gallons over a season and signal a bigger problem underneath.
✅ 8. Test the Rain Sensor If you have a rain sensor, confirm it’s working by manually triggering it and watching whether the system shuts off. If the system runs right through, the sensor needs to be recalibrated or replaced.
Should You DIY Your Irrigation Startup or Call a Pro?
For homeowners who are comfortable with their system and had no issues last season, a careful DIY startup is very doable using this checklist.
But it makes sense to call in a professional if:
- You had any issues at shutdown last fall
- You notice any cracks, leaks, or pooling during your walkthrough
- Your system hasn’t been serviced in a few years
- You’re not sure your system was properly winterized
Catching a small problem in April is always cheaper than dealing with it in July when your lawn is at its most vulnerable.
Let Sears Handle Your Spring Startup
We take care of irrigation systems across Cape Cod every spring. Our spring startup service includes a full system inspection, zone-by-zone testing, head adjustments, controller programming, and a written summary of anything we find. It’s one of those things that’s easy to put off — and always worth doing right.
Give us a call or send us a message to schedule your spring irrigation startup today.
John G. Sears & Son Landscaping has proudly served the New England community since 1931. From irrigation and lawn care to tree work and snow removal, we’re your neighbors — and we treat your property like it’s our own.